
In ServiceNow, tables are the cornerstone of every application.
At the end of the day, everything is a record in a table.
All business rules, incidents, assets, scripts, widgets, etc – are all records in a table.
When you look at the incident application, you’re really looking at records in a table.
ServiceNow comes with many tables that are out of box (OOB).
As ServiceNow Admins, we also have the ability to create custom tables, and then can populate these tables with records, as we see fit.
All you need is the admin role, and you’ll need to know some basic information about the name of the table, it’s scope and what table to extend it from (if that’s necessary).
Naming a table in ServiceNow is one of the few actions that can’t be re-done. So you can’t go back and change the name of the database table. Although you can modify the Label of the table, down the road. So make sure you put a little bit of thought into what you want to name the table.
Usually tables don’t have a trailing “s” at the end of them.
All of the OOB tables: incident, problem, task, change_request, cmdb_ci, etc.
These tables don’t have an “s”, so your’s shouldn’t either.
How To Create A Table
Like many actions in ServiceNow, there are multiple ways to perform the same action, this goes for creating tables.
Also to keep in mind, the table of tables is “sys_db_object”.
The 2 most common ways are to do this in the ServiceNow Studio (Scoped Application), or to do this in the Native ServiceNow UI (Global Scope).
Create A Table – Globally
If you want to create a table in the Global scope, it takes less than a minute to do.
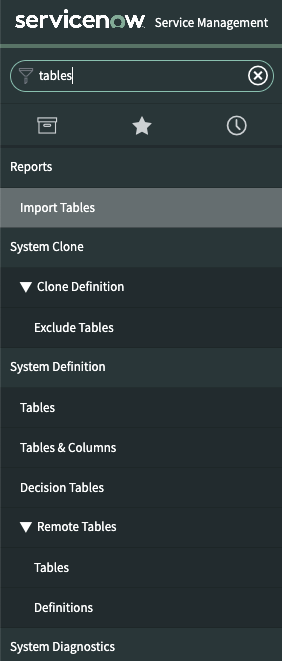
- Navigate to System Definition > Tables. Click on the “Tables” module.
You’ll then see a list of pre-existing tables, like below.
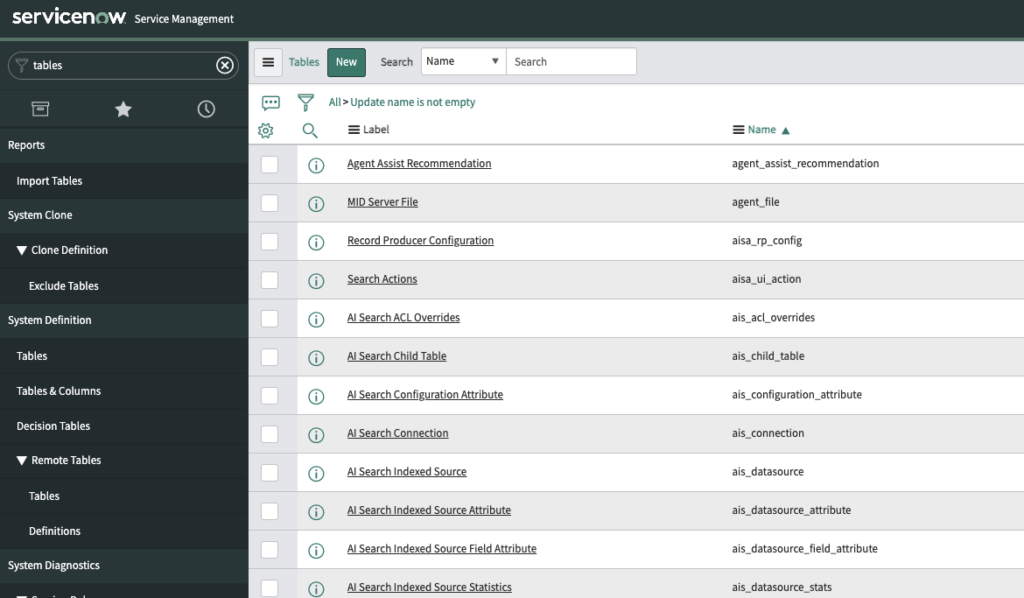
Go ahead and select “New” at the top of the list view, which is a UI Action.
It will show a new form, for a new table. The form will look like the below. You’ll have your basic table information, like label, name, extension and where you want to have it show up in ServiceNow.
Should I Extend A Table?
Table Extension is an important concept to get right, as again, this is one of the few things that you can’t modify later – it would cause huge issues and is a terrible idea. It’s important to get it right from the start.
When you extend a table, the new table “inherits” all of the columns of the extended table. So when you extend a table from task, and call it “Budgeting Cases”, that new table will automatically have ALL of the columns/fields that are on the task table.
For example, if you’re creating an application that is task-based, so it is a team that’s performing ticket/work, that should extend the task table.
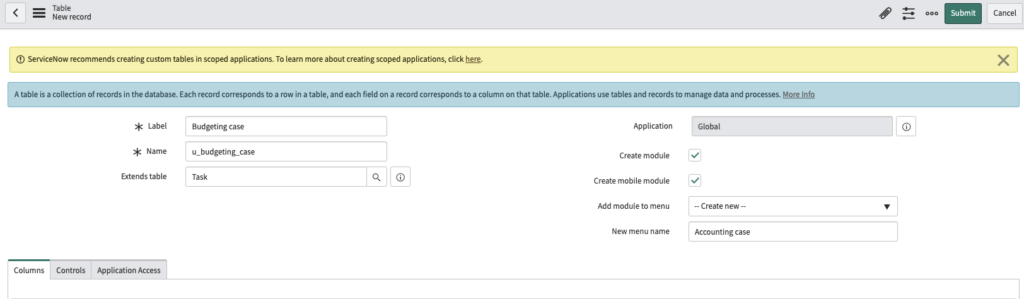
You’ll also notice the “Application” scope is a reference field on the new table form. This is super important to make sure you have right, before you Submit this new table record.
Whatever the current scope you’re in, when you’re creating your application, will be shown here.
You can change the scope and perform the exact same actions as above, and the Application will show your custom scope.
You can also create a scoped table, using the ServiceNow Studio, which I’ll show you below.
Again, it does the exact same thing – it creates a table, it’s just a different method and a different UI.
Create A Table – Scoped Application
ServiceNow has been pushing for users to create Scoped Applications and to create tables, inside of this scope.
You can just change the scope and perform the above action, or you can do it in the ServiceNow App Engine. Make sure to switch the scope from Global first!
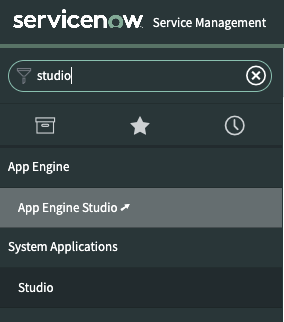
Go ahead and Navigate to the App Engine Studio, shown below, you can do this by going to App Engine > App Engine Studio:
You’ll then be navigated to the app engine in ServiceNow, where you can create custom applications and scopes.

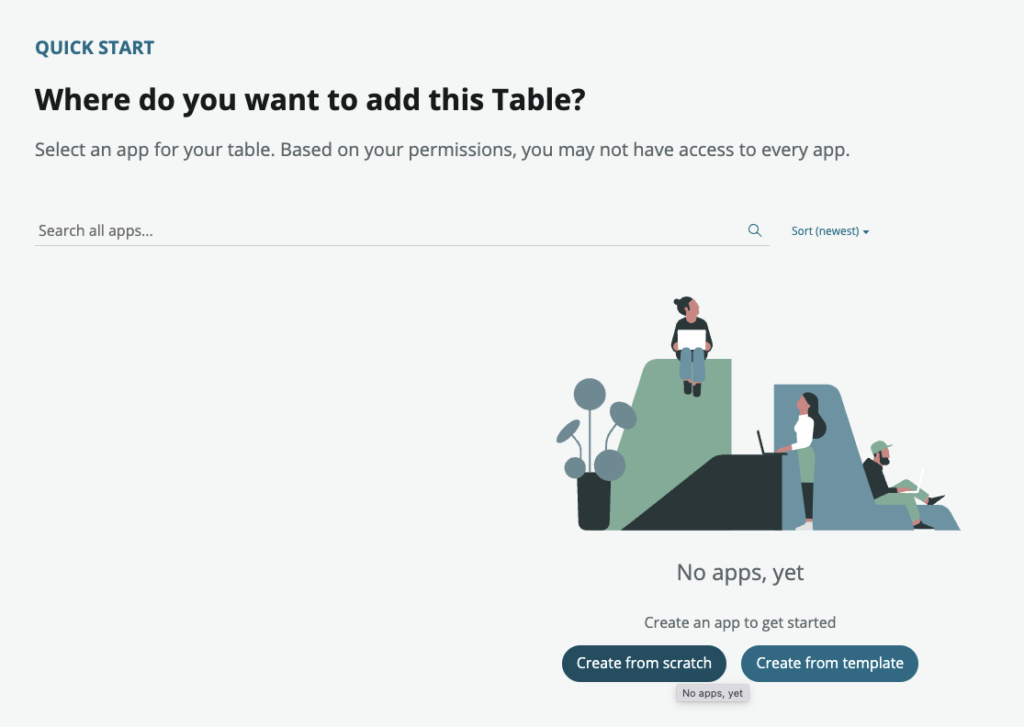
Go ahead and select the “Add a table” under the Quick Start area.
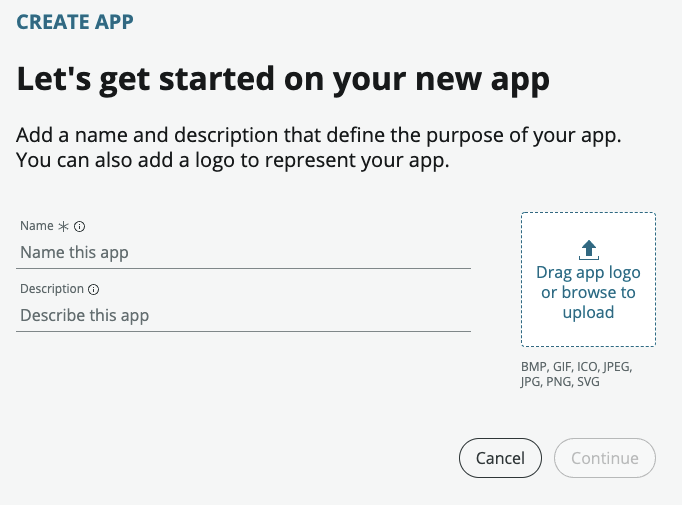
This will then take you to a form that looks like the below, where you’ll probably want to select “Create from Scratch”.
From here, you’ll then be shown the form to walk through, it is super quick and takes a few minutes – it’s just a different UI.
It’s super easy and you just answer the questions that you’re asked.
At the end of this process, you’ll have your new table created.
I’m not 100% sold on “always” creating a Scoped Table.
I think ServiceNow encourages creating tables (and most other items) in scoped applications, so people can publish them to the ServiceNow Store to share with other customers. This can’t be done in a global scope. It’s a better way to version and publish applications, outside of update sets. Scoped applications also have obvious security benefits, which is a huge plus of scoped apps.
Sometimes you want the table in global, and sometimes you want it Scoped – there’s a time and place for both.
Let us know you’re thoughts below on how you create tables. What’s your preferred method and what issues you’ve had.