If you’re a ServiceNow Admin, you first off understand what an update set is, and you understand what types of records are captured, and which are not.
If you write a business rule in an update set, that’s captured in the update set.
However, if you create an incident record, that is NOT captured in the update set.
Update sets track “customizations” only, by default.
And an update set is just an XML file at the end of the day. It’s a data structure to move data from one ServiceNow instance to another ServiceNow instance. The next time you have an update set, go and look at it, you’ll see a giant block of XML structured data, telling ServiceNow what tables and what columns are being moved around.
You can “force” certain records into an update set if you’d like. The below script will show you how to do this.
We’ve found this helpful when you’re in ServiceNow development, and you’re an admin. You know that a certain record needs to be captured in an update set, but it’s not. You can simply create the below UI Action/Button, and then you can go to that record, click the button, and the record that was not natively captured in the update set is captured.
We can’t think of a scenario to have this UI Action live in a test or a production environment, as it’s purely for forcing data into the XML file of the update set. So don’t bring this to production, as that likely wouldn’t make any sense. Also, make sure that you have the condition on the update set set to:
gs.hasRole("admin");
There’s no good use case for a non-admin, to be pushing records into update sets, as they won’t be in an update set, because they’re not an admin.
We’ve found this most helpful with things like Scheduled Jobs in ServiceNow.
Scheduled Jobs are not natively captured in update sets, for some reason. We find these to fall under the category of a customization, but when you create/update one in an update set – you’ll find that it’s not captured.
Also, it’s worth mentioning that this is not the best way to move large amounts of data across environments. That’s best done via import sets. When moving large amounts of data across instances, you shouldn’t use an update set.
Create The “Force To Update Set” UI Action

First, go ahead and create a new UI Action.
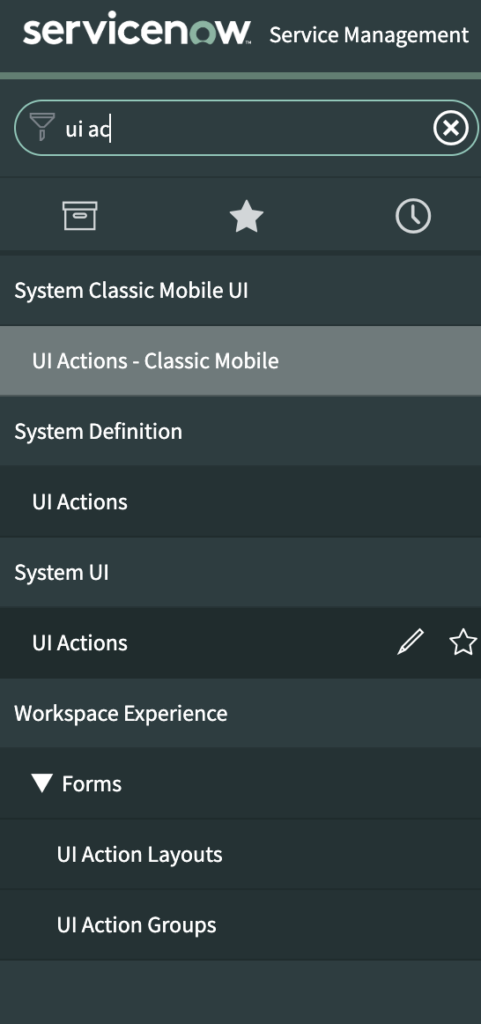
Go to System UI > UI Actions
When the list view of all UI Actions pops up, go ahead and click new.
You’ll see a blank UI Action form.
Populate it as follows:
Name: Force to Update Set (or whatever you want to call it)
Active: true
Table: Global
Form Link: true
Form Button: true (if you want it on the form header of every form)
Condition:
gs.hasRole("admin");
Script:
//Commit any changes to the record
current.update();

//Check to make sure the table isn't synchronized already
var tbl = current.getTableName();
if(tbl.startsWith("wf_") || tbl.startsWith("sys_ui_") || tbl == "sys_choice" || current.getED().getBooleanAttribute("update_synch") || current.getED().getBooleanAttribute("update_synch_custom")){
   gs.addErrorMessage("Updates are already being recorded for this table.");
   action.setRedirectURL(current);
}
else{
   //Push the update into the current update set
   var um = new GlideUpdateManager2();
   um.saveRecord(current);

   //Query for the current update set to display info message
   var setID = gs.getPreference("sys_update_set");
   var us = new GlideRecord("sys_update_set");
   us.get(setID);

   //Display info message and reload the form
   gs.addInfoMessage("Record included in <a href="sys_update_set.do?sys_id=' + setID + '">' + us.name + '</a> update set.");
   action.setRedirectURL(current);
}
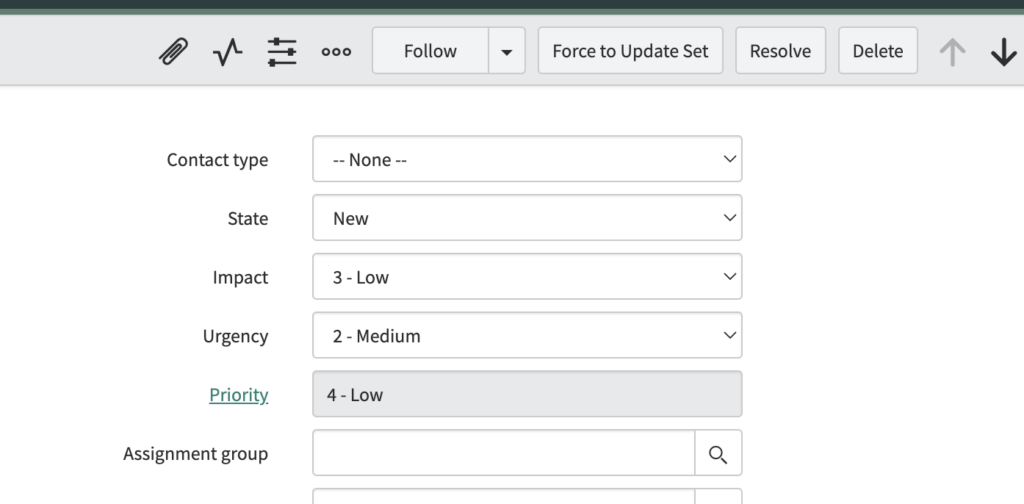
Now, when you go to literally any record in ServiceNow, you’ll see a new UI Action on the form. You’ll be able to add incidents, scheduled jobs, and literally any other record into an update set.
This will look like this, and will only be visible to admins, based on the condition:

For people that are developing and creating on the platform, this makes a ton of sense to implement. Because ServiceNow Admins and Developers are not always the “end users” of the platform, but moreso the ones building and guiding how the platform evolves and is customized over time. So you want to make sure that no one other than the admin sees this button. To conclude, it’s for builders and not consumers, which is why we keep it for admins and in development only.
This was first popularized by SNCGuru, so we don’t take credit directly for this script.
All other scripts on this site were created by us, unless otherwise stated. We feel strongly that we want to help others, but we don’t want to take credit for the code of other people. So just to be clear, the above code, was created by SNCGuru, and we’ve found it very helpful in times past, which is why we’re sharing it here. This is one of the few scenarios where we want to showcase another ServiceNow resource’s code, which we’re happy to do so, and be very up front about it.
Let us know what you think about this below in the comments.
Have you used this script or found it helpful?

