Create A New User
Most organizations use Active Directory to perform user management.
A proper Active Directory connection via LDAP allows for the source of truth for user data, to live outside of ServiceNow. If you’re at an organization that has hundreds of thousands of users, it’s not realistic for the data to be manually managed or updated in ServiceNow.
But there are cases when a creating a local user is necessary. This might be for local user testing, an integration user account, etc.
Only ServiceNow Admins should be creating new user accounts manually in the environment. It can become a slippery slope if you allow end users or ITIL users to start creating their own user accounts. So make sure you’re ACL’s are set up properly to block this type of record creation.
Every ServiceNow Admin needs to be able to easily create a user at any given time.
If you’d like to better understand how to properly manage users, groups and roles – check out this post.
How To Create A User
It is incredibly simple to create a user account in ServiceNow – it takes about 30 seconds.
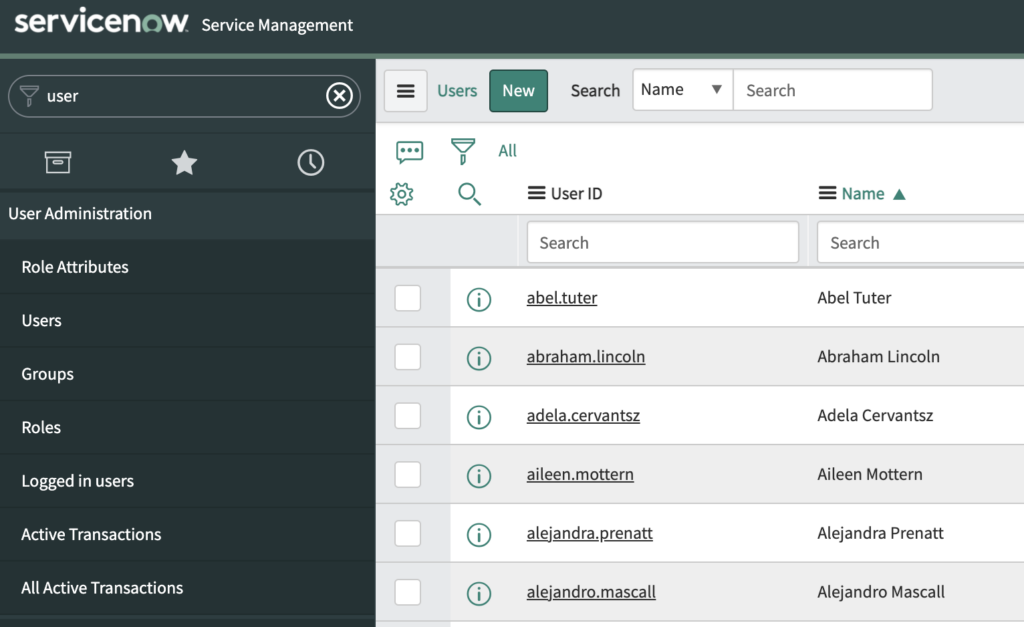
Navigate to User Adminstration > Users
Select “New” at the top of the list view.

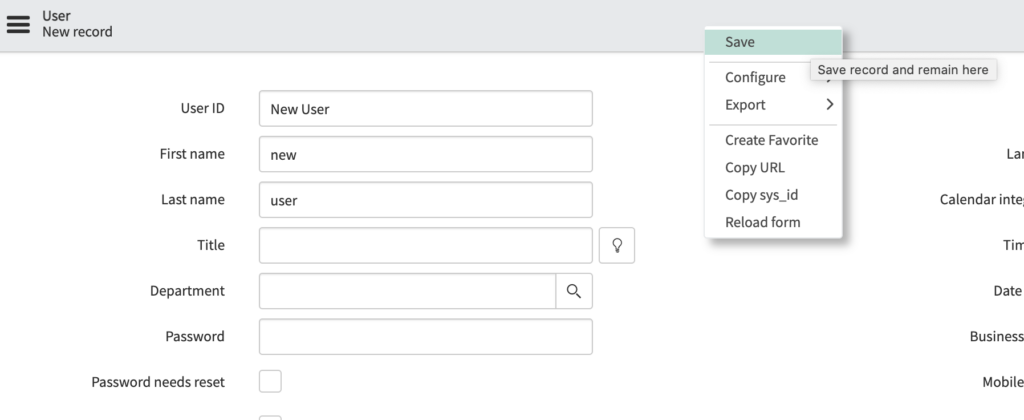
Once you click “New”, you will arrive at an empty record.
At a minimum, populate the User ID, First name, Last Name, Password and Active fields.
The User ID field is most important, as if there is no User ID value, then the user can’t login and the user account is worthless.

After you’ve filled in the necessary information – right click on the column header and click “Save”.
At this point, you now have a new user account.
Don’t forget to add the user to the correct groups so they inherit roles properly.
A new user without any roles will be able to log into ServiceNow, but they will likely just be forced to the Service Portal, as they are a non-rolled end user.


[…] How To Create A User in ServiceNow […]