ServiceNow User Management: Creating, Modifying, and Deleting Users
In the world of digital platforms, managing users is key. For ServiceNow, a top enterprise cloud solution, this is especially true.
It’s crucial for ServiceNow admins to use a trusted source like Active Directory (AD) for user management.
This ensures smooth operations and strong security. Let’s dive into how to do this right, making user management straightforward and effective.
Is your source of truth AD or is it managed directly in ServiceNow? The answer to this question will guide how to properly handle user management in ServiceNow.
Active Directory and LDAP: Setting the Gold Standard for User Management in ServiceNow
Active Directory and LDAP: The Foundations
Active Directory (AD) is a Microsoft product that acts as a centralized hub for storing information about objects on a network and providing this information to users and administrators. Meanwhile, the Lightweight Directory Access Protocol (LDAP) is a protocol used to access directory listings over TCP/IP.
ServiceNow can integrate with AD using LDAP to automate and simplify user management. This integration ensures that your AD remains the primary source of truth for user information, streamlining processes, and bolstering data accuracy.
Why AD as the Source of Truth is Best Practice
- Centralized Control: Using AD ensures that all user-related decisions, from adding new hires to removing exiting employees, are made in a centralized environment. This reduces discrepancies and oversights.
- Security: With AD and LDAP, only authorized personnel can make changes, ensuring that user data remains secure.
- Efficiency: Once set up, the AD-LDAP connection automates user import and updates in ServiceNow, significantly reducing manual input and the potential for human error.
Syncing and its Implications
When you integrate ServiceNow with AD using LDAP, remember that data from AD will override the data in ServiceNow during synchronization. So, if you make direct changes to users in ServiceNow, these changes may be lost during the next sync if they aren’t mirrored in AD.
For instance, if a user’s department is updated directly in ServiceNow but remains unchanged in AD, the next sync will revert the user’s department in ServiceNow to the old value from AD.
Considerations for Sync Frequency
- Volume of Changes: If your organization frequently sees role changes, new hires, or exits, you might consider more frequent syncs to ensure ServiceNow reflects the most up-to-date user data.
- System Performance: While syncing is efficient, very frequent updates (multiple times a day) could impact system performance, especially if there’s a large volume of user data.
- Data Integrity: Regular syncs, such as nightly updates, ensure that any inadvertent changes made directly in ServiceNow get rectified quickly, maintaining the AD as the source of truth.
- Groups and Roles: Not just users, syncing groups is equally vital. Groups in AD can correspond to roles in ServiceNow, ensuring that users have the right access based on their group memberships.
Best Practices and Ideas
- Backup and Test: Before initial synchronization, ensure you back up your ServiceNow user data. Additionally, use a non-production instance of ServiceNow to test the sync and understand its implications.
- Notifications: Set up alerts or notifications for sync failures or discrepancies. Immediate awareness allows swift resolution.
- Review and Clean AD: Regularly review and clean up your AD. Redundant, old, or inaccurate data in AD will reflect in ServiceNow post-sync, so it’s essential to ensure the source remains accurate.
- Sync Schedule: Aim for a balance between up-to-date data and system performance. A nightly sync might be ideal for most, but depending on your organization’s needs, this could be adjusted.
- Document Procedures: Whether it’s the sync frequency, fields to be synchronized, or error-handling procedures, ensure everything is documented. This not only helps in troubleshooting but also in maintaining consistency.
To sum up, while ServiceNow offers robust user management capabilities, integrating it with Active Directory using LDAP takes these capabilities to another level. This setup not only streamlines processes but also fortifies data accuracy, making it a best practice that no ServiceNow admin should overlook. Navigate user synchronization with confidence, and let AD be your unwavering source of truth.

Creating a User: Your First Step in Onboarding
If your users are not managed in AD or another external 3rd party, then you can mange users directly in ServiceNow. Consider getting your ServiceNow instance connected via AD if that’s at all possible.
Managing users locally in ServiceNow is not a best practice, but I’m sure there’s a reason for doing it for some organizations. Not everything is “one size fits all”.
In ServiceNow, adding users is the initial step to integrate them into the system’s workflows and processes.
How to Create a User:
- Navigate to the “User Administration” application.
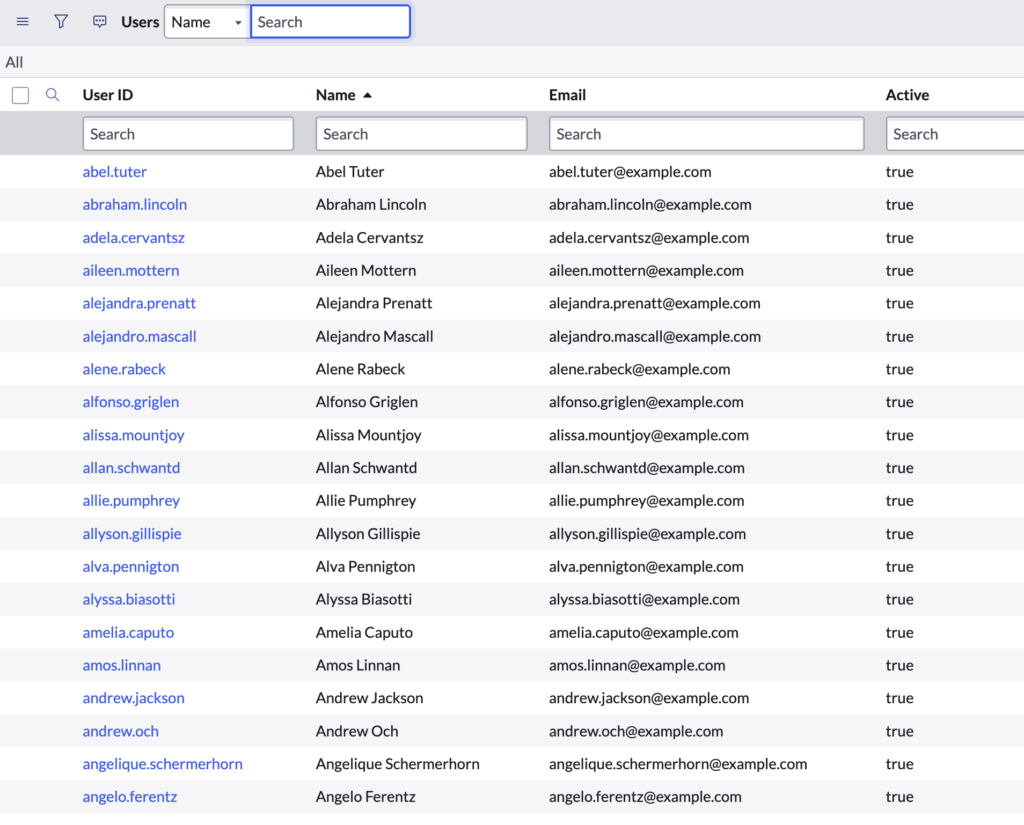
- Click on the “Users” module.
- Select “New” to open a new user form.
- Fill out the required fields, such as “User ID”, “First Name”, “Last Name”, and “Email”.
- Assign appropriate roles and groups, if necessary.
- Save the record.
Example: If Jane Doe joins your IT department, you’d create a user profile for her, assign her relevant IT roles, and integrate her into the department’s ServiceNow group for streamlined communication and task assignments.
Modifying a User: Adapting to Evolving Needs
Roles change. Responsibilities expand. As such, the ability to modify user profiles ensures the system remains in sync with real-world dynamics.
How to Modify a User:
- Within the “Users” module, search for the user you wish to modify.
- Click on the user’s name to open their record.
- Edit the necessary fields or assign/unassign roles and groups.
- Update the record.
Example: If John Smith, initially a regular IT technician, gets promoted to a senior role, you’d modify his user profile to grant additional roles or privileges aligned with his new responsibilities.
Deleting a User: A Necessary Cleanup
While it’s essential to onboard users, it’s equally crucial to remove them when their association ends, ensuring system integrity and security.
How to Delete a User:
- Navigate to the user record you intend to delete.
- Click on the “Delete” option, typically represented by a trash bin icon.
- Confirm the deletion.
Example: If Emily White leaves the company, you’d remove her user profile to ensure she no longer has access to the ServiceNow environment and its data.
Key Takeaways and Common Mistakes:
- Role Assignment: Always ensure that you assign only the necessary roles to a user. Over-assigning can lead to unauthorized access, while under-assigning can hinder a user’s tasks.
- Periodic Audits: Regularly review and audit user profiles. This ensures that user access aligns with current roles and responsibilities.
- Backup Contacts: Before deleting users, ensure that any tasks, incidents, or items assigned to them are reassigned. This prevents any work items from falling through the cracks.
- Bulk Actions with Caution: ServiceNow allows bulk user actions. While this is efficient, always double-check your selections to avoid unintended modifications or deletions.
- Understand Deactivation vs. Deletion: Instead of deleting, consider deactivating users who might return or whose data you might need in the future. This retains their historical data while revoking system access.
To conclude, user management in ServiceNow isn’t just an administrative task—it’s a strategic function ensuring the system mirrors the organization’s structure and changes. By mastering user creation, modification, and deletion, ServiceNow admins don’t just maintain the system; they elevate its utility and security. Navigate user management confidently and cement your position as a ServiceNow champion.

