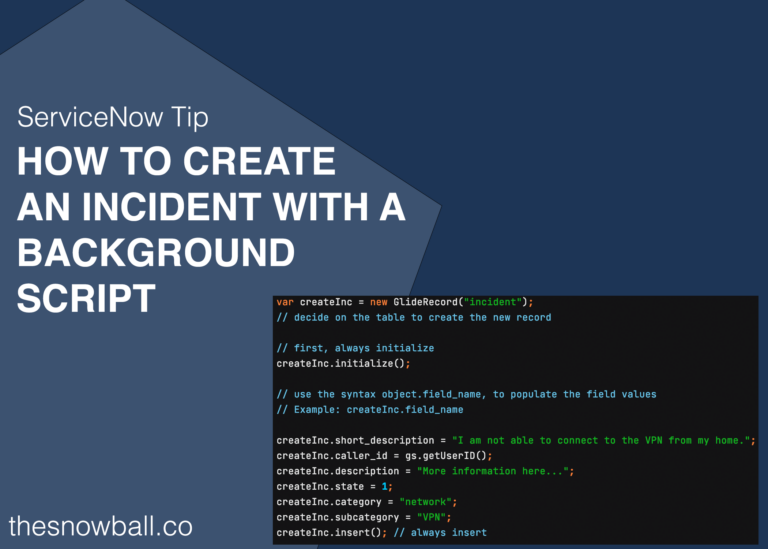
Have you ever used a background script in ServiceNow?
It is a way to run service side code to perform an infinite number of operations.
Before you dive into the world of scripting in ServiceNow, at a very primary level, you will need to understand the differences between client and server side code.
You can only process server side code in a background script.
Over time the differences between the server and the client will become obvious, but I’ve seen too many people trying to use g_form.setValue() in a background script, that it’s worth mentioning.
NOTE: It is always best practice to run a background script in a Development or Test instance before running it in production. We now can roll back background scripts, so if you mess up in production, it can be reversed – but still, always best to perform this in sub production first.
With a background script, you can:
– Create new records on any table
– Update existing records on any table
– Clean up relationships between existing records
– Mass update/delete records (if that scenario arises)
– And a million more server side scenarios that you can come up with
How To Run a Background Script
Role Required: admin
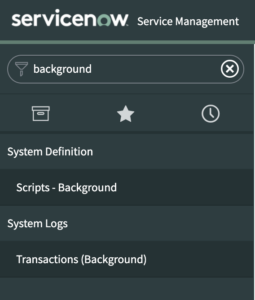
You go to System Definition > Scripts – Background, in the application navigator.
Create An Incident Via Background Script
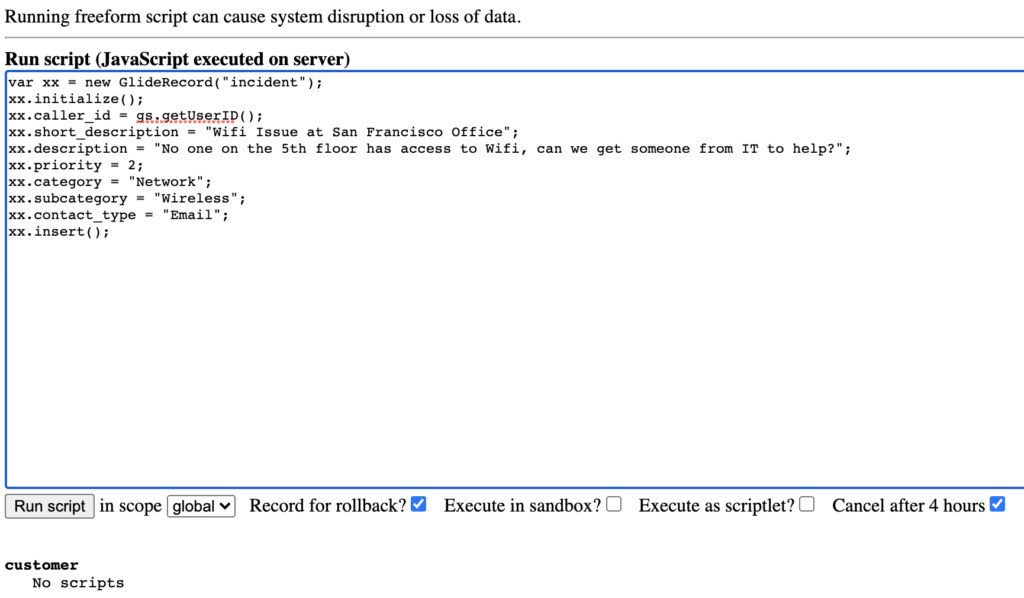
Once there, you will have a blank text editor to put code into.
For this example, we will write a script that creates one or many incident records. This example is using the incident table, but keep in mind, if you have the proper ACL permissions – then you can create records on any other table in the system.
When creating a new record, we always use the same format. You may see variants of this syntax elsewhere, but this is the synact that ServiceNow recommends and the syntax that ServiceNow uses in their out of box business rules and script includes.
We first create the JavaScript Object, based off of the GlideRecord class.
Then, we always start and end this process with the code shown below.
Create the object, stored in a variable based on the ServiceNow class you want to use, in this case, we’re using GlideRecord.
Next, take the object, and initialize it. This is done by using the initialize() method on the object.
Then, we build out our object and populate it with field values. This is where you decide on what values you want the newly created record to possess. You can fill out as many fields here as you’d like. I used the below fields as fields most companies have on their incident table. But you can populate custom fields here too.
Finally, when you’re done with building out your object and deciding on the fields you want on your new record, you insert the record into the database. This is done by using the insert() method on the object.
var xx = new GlideRecord("incident");
xx.initialize();
xx.caller_id = gs.getUserID();
xx.short_description = "Wifi Issue at San Francisco Office";
xx.description = "No one on the 5th floor has access to Wifi, can we get someone from IT to help?";
xx.priority = 2;
xx.category = "Network";
xx.subcategory = "Wireless";
xx.contact_type = "Email";
xx.insert();
Once you’re done with your script, you simply click “Run Script” and the script will execute. If you wrote the script incorrectly, you will be met with a wall of errors on the next screen.
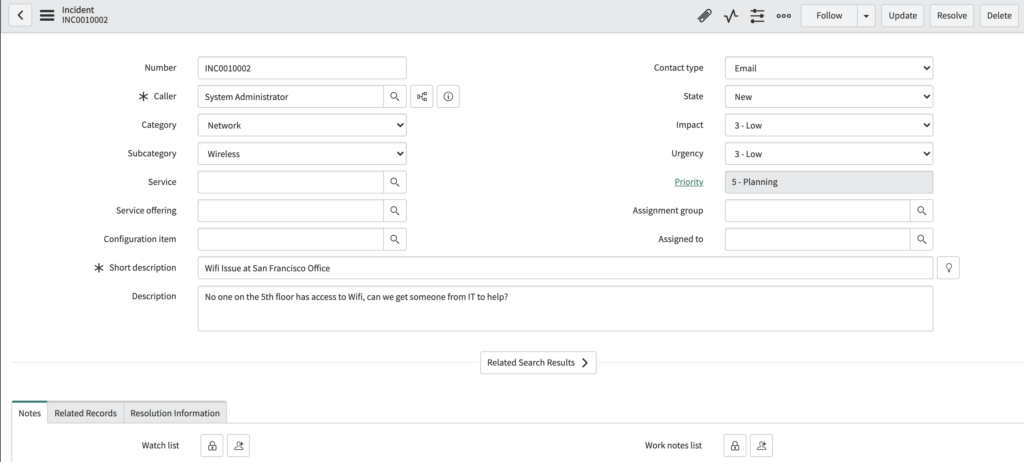
In the above example, we create one new record. But if it’s done properly, then you’ve got your new record created. The above script creates the below Incident record.
Create Multiple Records Via Background Script
So now that you know that a simple 10 line script can create a record, what if we wanted to do a little more than that?
What if you wanted to create 10 incidents? Or 100 incidents.
You can modify the script as follows.
The below is a simple for loop, that executes the same block of code synchronously, 10 different times. This can be modified to scale out to your specific use case.
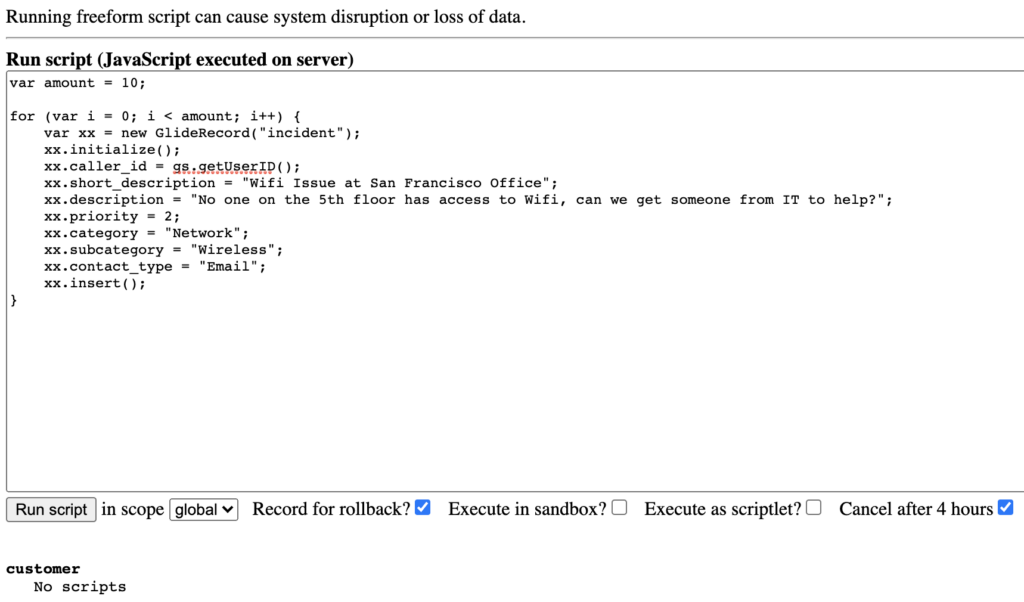
var amount = 10;

for (var i = 0; i < amount; i++) {
    var xx = new GlideRecord("incident");
    xx.initialize();
    xx.caller_id = gs.getUserID();
    xx.short_description = "Wifi Issue at San Francisco Office";
    xx.description = "No one on the 5th floor has access to Wifi, can we get someone from IT to help?";
    xx.priority = 2;
    xx.category = "Network";
    xx.subcategory = "Wireless";
    xx.contact_type = "Email";
    xx.insert();
}
At this point, you are now able to write a simple GlideRecord script that creates a record.

