Did you recently create a table in ServiceNow, but you can’t seem to find it in your application navigator?
Just by default, when you create a new table, it doesn’t automatically create a module for you, on the left side in the application navigator.
This is a feature that you can configure, in the initial setup of any application or table in ServiceNow.
But it’s okay if you want to set it up, after the table is made, if you forgot do to so in the initial setup.
Let’s review how to create a new application menu item for any table, below.
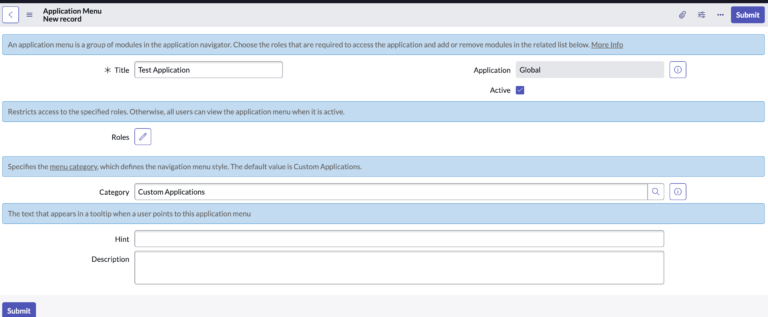
Create An Application Menu
You can thankfully go back and create a new application menu item on the left hand side, if you want to for any table that exists.
To make a table visible in the application navigator in ServiceNow, you need to perform the following steps:
- Go to System Definition > Application Menus in the ServiceNow instance.
- Find the Application Navigator in the list of available menus and open it.
- Locate the section where you want to add the table and click on the “Add” button.
- Select the “Module” option and provide a label for the new module.
- Click on the “Add” button to create the new module.
- Go to System Definition > Tables and find the table you want to make visible.
- Open the table and scroll down to the “Application Navigator” section.
- Check the box next to “Visible” to make the table visible in the application navigator.
- Save the changes to the table.
The table should now be visible in the application navigator and accessible to users.
Let’s teach you some shorthand in ServiceNow, where you can get to any table that exists, if you know the table’s database name.
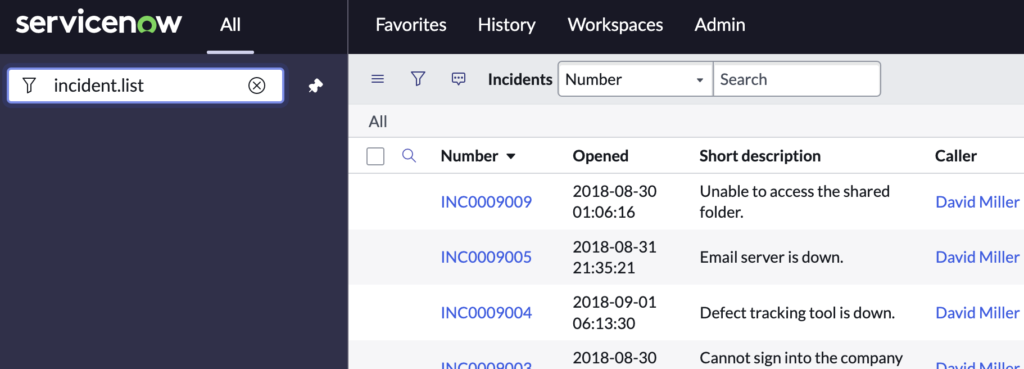
Go Directly To A Table Using .list
You can go directly to a table in ServiceNow using the .list method.
To do this, you need to know the name of the table.
For example, to go to the incident table, type this into the application navigator on the left hand side, and hit enter:
incident.list
You can also go directly to any table in ServiceNow, by modifying the URL, as follows.
- [instance_name] is the name of your ServiceNow instance (e.g. dev12345).
- [table_name] is the name of the table you want to access (e.g. incident).
For example, if your ServiceNow instance name is “dev12345” and you want to access the “incident” table, the URL would be:
https://dev12345.service-now.com/incident_list.do
This will take you directly to the list view of the specified table, allowing you to view, filter, and manage records.